LXD virtual machines: an overview
Miona Aleksic
on 9 June 2022
Tags: LXD , Virtual Machines
While LXD is mostly known for providing system containers, since the 4.0 LTS, it also natively supports virtual machines. With the recent 5.0 LTS, LXD virtual machines are at feature parity with containers. In this blog, we’ll explore some of the main LXD virtual machine features and how you can use them to run your infrastructure.
Why did we include VMs?
When talking about LXD, we often focus on system containers. After all, they are efficient, dense, and give the experience of a VM while being light on resources. However, since containers use the kernel of the host OS, they are not suitable when you would like to run your workloads in a different operating system, or with a different kernel than that of the host.
We have seen many of our users using LXD in parallel with something like libvirt, which gives some overhead as you’d have to deal with two different environments and configurations. With LXD VMs we unified that experience.
Some enterprise policies do not consider containers safe enough for certain workloads, so including VMs allows our users to meet those policies as well.
Now, you can use system containers, VMs or manage a cluster that mixes the two, covering most of the infrastructure use cases you might have.
What are LXD VMs based on?
LXD VMs are based on QEMU, like other VMs you would get through libvirt and similar tools. We are, however, opinionated about the setup and the experience, which is why we use a modern Q35 layout with UEFI and SecureBoot by default. All devices are virtio-based (we don’t do any complex device emulation at the host level).
While functionality doesn’t differ much from other VM virtualization tools, we want to provide a better experience out of the box with pre-installed images and optimised choices. Thanks to a built-in agent, experience with running commands and working with files (‘lxc exec’ and ‘lxc file’) is exactly the same as with containers.
How to set up an LXD virtual machine
The best way to launch VMs is using the images from our community server. There is a wide choice of distributions available, these images are automatically tested daily, and also include support for the LXD agent out of the box.
Creating a VM is as simple as:
lxc launch ubuntu:22.04 ubuntu --vm
Additional details are available here.
Desktop images
In addition to cloud images for a variety of distributions, we also support desktop images that allow you to launch a desktop VM with no additional configuration needed.
For launching an Ubuntu 22.04 VM the command would look like this:
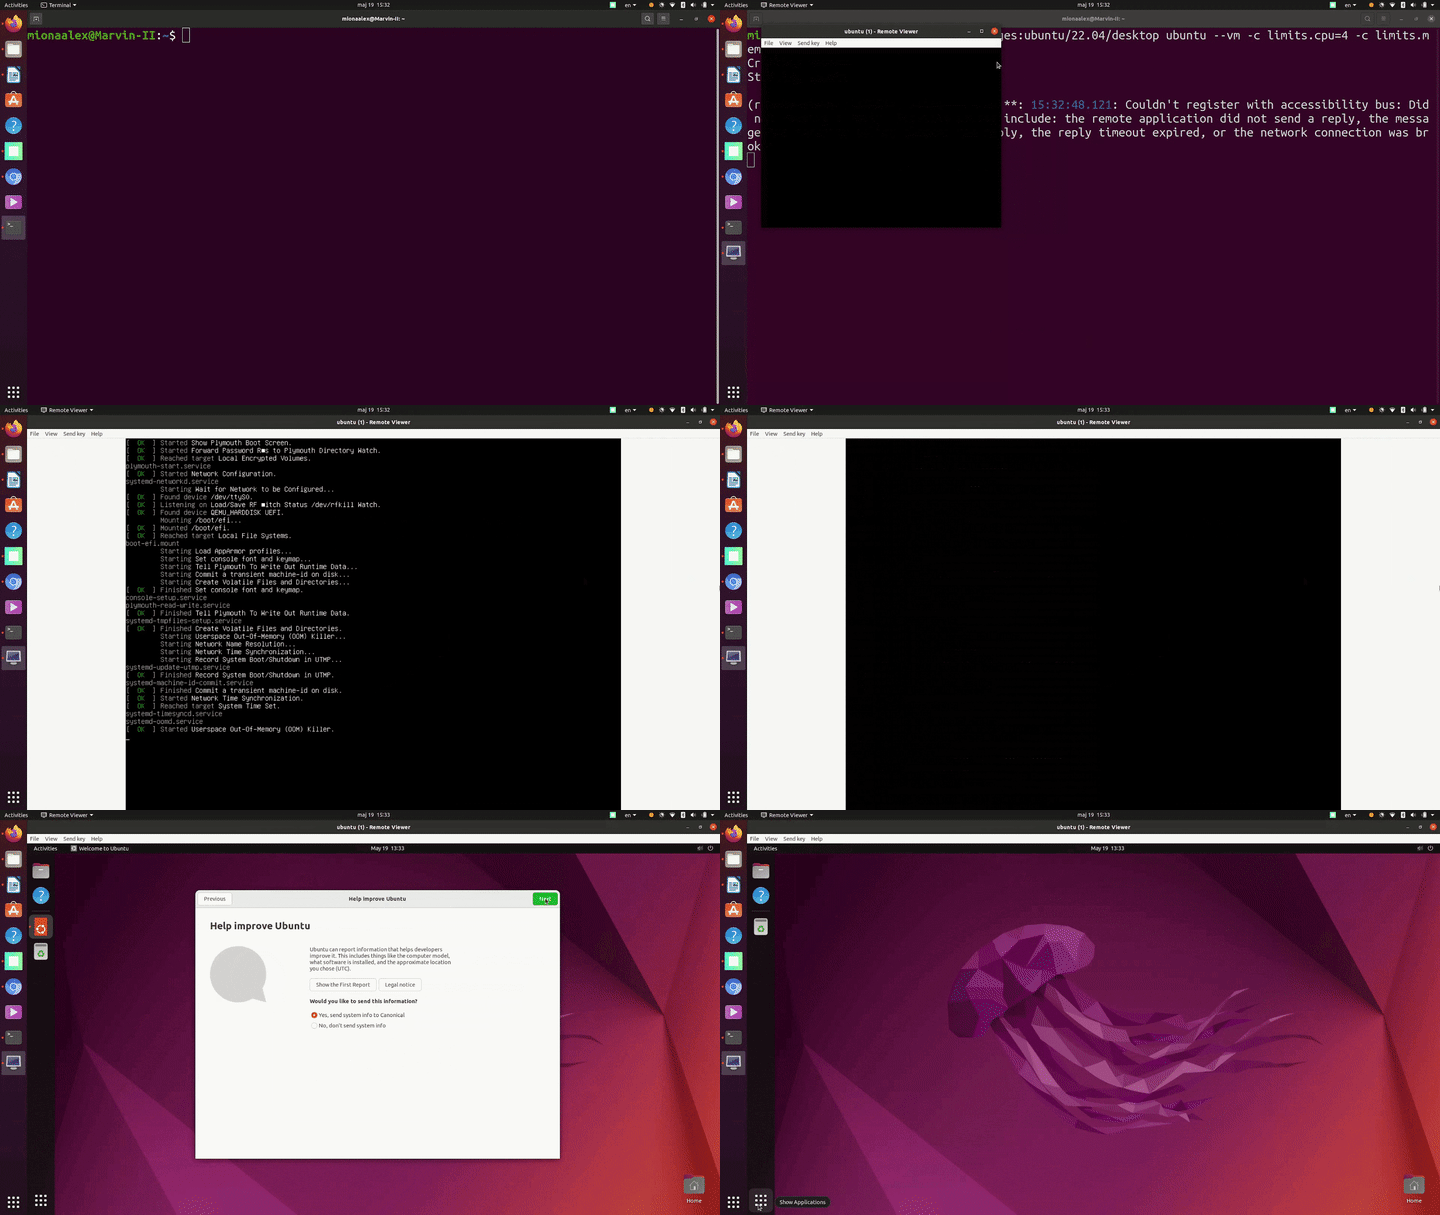
lxc launch images:ubuntu/22.04/desktop ubuntu --vm -c limits.cpu=4 -c limits.memory=4GiB --console=vga
The whole process takes seconds, as shown below.

ISO file
If you want to install an OS or a distribution that is not among the available images, you can install any OS via the ISO file.
For more details, you can visit this discussion.
Running Windows
If you would like to run a Windows VM, you would first need to repackage the Windows ISO file, using distrobuilder, before proceeding to install it into an LXD virtual machine.
The process is then relatively simple, and you can follow the steps in this video.
Final words on feature parity with containers
With the 4.0 release, LXD virtual machines were initially slightly limited in features. With the 5.0 LTS release, they are now effectively at parity with containers.
LXD VMs now come with vTPM support, offering security-related functions. For instance, this allows users to create and store keys that are private and authenticate access to their systems. VMs also come with arbitrary PCI passthrough support that enables users to access and manage a variety of hardware devices from a virtual machine. They can now also be live-migrated and support some device hotplug and additional storage options.
If you would like to test this for yourself, follow this guide for all major Linux distributions.
To discuss issues, questions, or to get help, please visit our community forum.
Fast, dense, and secure container and VM management at any scale
LXD brings flexible resource limits, advanced snapshot and networking support, and better security — all making for easier, leaner and more robust containerised solutions and VMs.
Newsletter signup
Related posts
Containerization vs. Virtualization : understand the differences
Containerization vs. Virtualization : understand the differences and benefits of each approach, as well as connections to cloud computing.
Join Canonical in London at Dell Technologies Forum
Canonical is excited to be partnering with Dell Technologies at the upcoming Dell Technologies Forum – London, taking place on 26th November. This prestigious...
Canonical announces the first MicroCloud LTS release
Canonical announces the first MicroCloud LTS release. MicroCloud 2.1.0 LTS features support for single-node deployments, improved security posture, and more...
